The first step in getting Salesforce CRM up and running or up to date is to move your data from it’s current location into Salesforce. But importing and updating Salesforce with large amounts of data can be a daunting and time consuming task.
First you have to clean your data, then prep your file, then test your import and finally pull the trigger. And after all this work, If you make a single mistake during the process it can be hard to pull back.
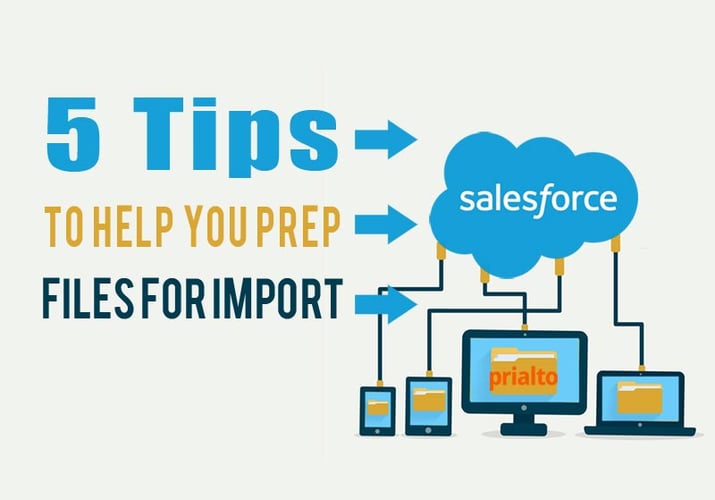
To ensure a seamless import, be sure to follow these 5 steps.
1- Create a unique identifier
When prepping the upload file, make sure to always verify there is a unique identifier for each contact or account uploaded. This will make it easier to find which ones were uploaded/updated in case a mass deletion or adjustment is needed later. For example, when we import data for our members, we create an "Import Notes" custom text field. In our upload file, we create a column for "Import Notes" and paste the same unique identifier for all of the line items in the import. THis way, if we ever need to pull up the data from the import, we can create a report filtered by the unique identifier.
2- Match your column headers
Be sure your column headers match the names of your fields in Salesforce. This will make it easier when you map the data. Also, check to make sure you identify which columns will upload to contact vs. account so there isn’t confusion when you start the import. Finally, check to make sure you don’t have any duplicated or empty column headers which will cause errors with the upload.
3- Check pick-list values
If you are uploading pick list values be sure the values exist in your system before upload. If you need to add them, do this before the import to make sure they are active options before your file hits the system. This way you can avoid error messages and having to re-do the import.
4- Assign an owner
This is an easy one to forget in the middle of all your other important data. Unless you want all your records owned by your system’s default owner, be sure to mark a column for record owner.
5- Upload a test file
Create a test file of 4-5 records with all import columns. Import this file and check that everything maps as planned. If not, adjust your file and test again. Continue testing until the imports upload as you want then proceed with your main file. Failing to test can mean having to redo unnecessary amounts of work. Perfect your test file before loading your main one.
Bonus tip:
Create a view showing records created today by you. Include all the fields you are importing. This way you can quickly QA the records you have updated/imported. If something looks off, troubleshoot and try again.
Related: Should I Customize Salesforce Or Configure It?
Keeping Salesforce up to date and current with your customer leads, contacts, accounts, opportunities, and tasks is without a doubt crucial but the process can be time consuming and daunting.
Consider delegating certain administrative tasks like SFDC imports to a team member or an assistant. Doing so will free up your time to do other high impact work only you can do.